
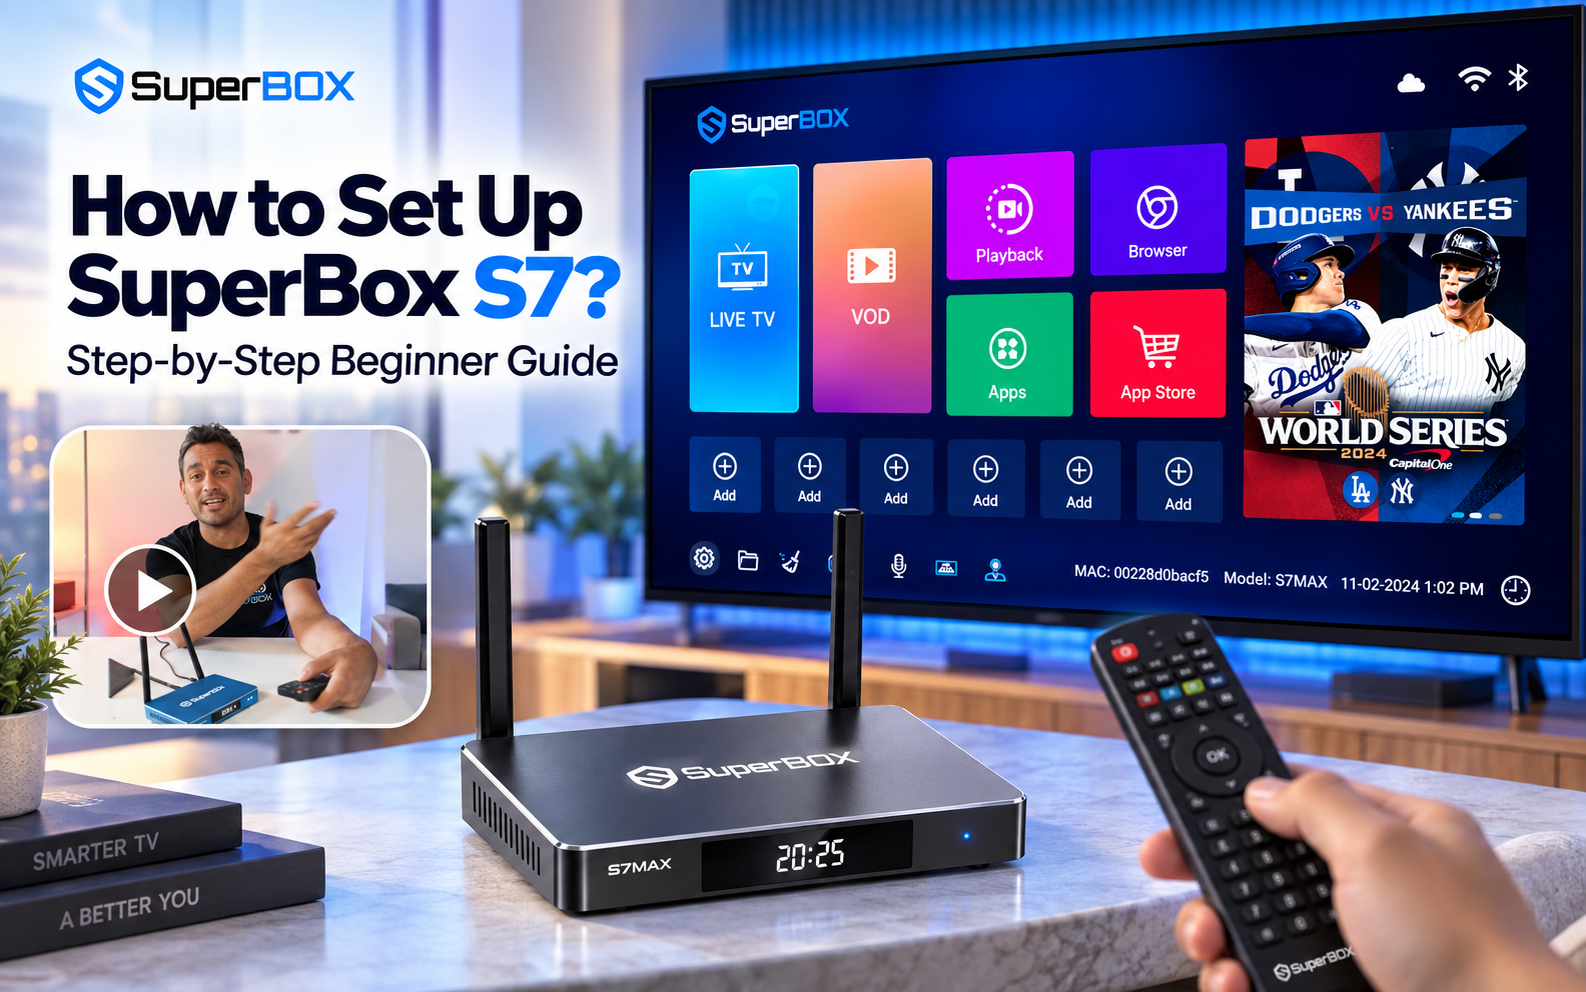
To set up your SuperBox S7, connect the HDMI cable to your television and plug in the power adapter. Pair the RC-200L remote by holding the Voice and OK buttons for five seconds, connect to your 5GHz Wi-Fi 6 network, and set your local time zone. Finally, open the green App Store to install Blue TV, Blue VOD, and Playback for immediate live streaming.
Quick Takeaways & Key Highlights:
- Hardware Assembly: Connect the included HDMI 2.0 cable to an HDCP 2.2 port on your television and plug the 5V/2A power supply into a wall outlet.
- Bluetooth Remote Pairing: Hold the Voice and OK buttons on the RC-200L remote simultaneously for 5 seconds within 1 foot of the box to activate Bluetooth voice control.
- Network Configuration: Connect to the 5GHz band of your Wi-Fi 6 router or plug an RJ45 Ethernet cable directly into the Gigabit LAN port for 4K streaming stability.
- Time Zone Synchronization: Adjust your local time zone in Android Device Preferences to ensure the Electronic Program Guide (EPG) displays accurate live broadcast showtimes.
- One-Click App Installation: Open the green App Store icon on the home screen to download Blue TV, Blue VOD, SuperBox Playback, and Backup TV with a single click.
Step 1: Connecting physical hardware and cables
The SuperBox S7 hardware connection requires two basic cables and takes less than sixty seconds to complete. Position your SuperBox on a flat, well-ventilated media shelf rather than stacking it directly on top of heat-generating audio receivers.
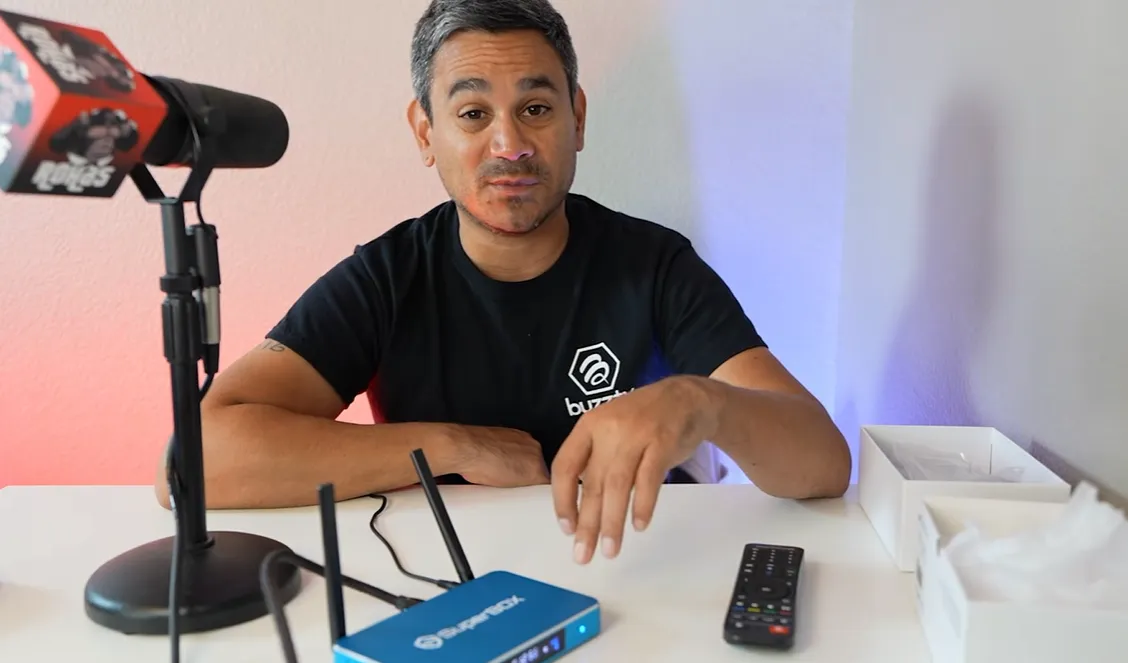
First, insert one end of the included high-speed HDMI cable into the HDMI output port on the rear panel of your SuperBox S7. Insert the opposite end into an available HDMI input port on your television, preferably labeled HDMI 2.0 or HDCP 2.2 for full 4K HDR passthrough. Next, plug the DC barrel connector from the 5V/2A power supply into the DC-in jack on the SuperBox, then plug the power adapter into an AC wall outlet or surge protector.
Turn on your television and use your television remote to select the corresponding HDMI input source (such as HDMI 1 or HDMI 2). The SuperBox S7 will initiate its cold boot sequence, lighting up the front-panel LED display and presenting the initial SuperBox welcome screen within 28 seconds.
Step 2: Pairing the RC-200L Bluetooth voice remote
The RC-200L remote control is a hybrid infrared and Bluetooth peripheral that requires a one-time wireless pairing procedure to unlock active voice commands and non-line-of-sight navigation. When you first insert two AAA batteries into the battery compartment, the remote functions strictly via standard infrared, requiring you to point it directly at the front sensor of the box.
To establish the high-speed Bluetooth connection, follow these exact pairing steps:
- Step 2.1: Hold the remote control within one foot (30 centimeters) of the SuperBox S7 front panel to ensure strong signal calibration.
- Step 2.2: Press and hold the Voice (Microphone) button and the central OK button simultaneously for five seconds.
- Step 2.3: Release both buttons when the red indicator LED at the top of the remote begins flashing rapidly.
- Step 2.4: An on-screen dialog box will appear reading “Bluetooth Pairing Connected”. Once paired, the remote indicator light remains solid for two seconds before turning off.
Once Bluetooth pairing is established, you can speak directly into the microphone button to launch apps, search for movies by title, or navigate channels without pointing the remote at the television.
Step 3: Configuring Wi-Fi 6 or Gigabit Ethernet network
The SuperBox S7 operating architecture relies on a stable high-speed internet connection to stream high-bitrate live television and 4K on-demand movies without buffering. Users can connect through either wireless Wi-Fi 6 or wired Ethernet cables:
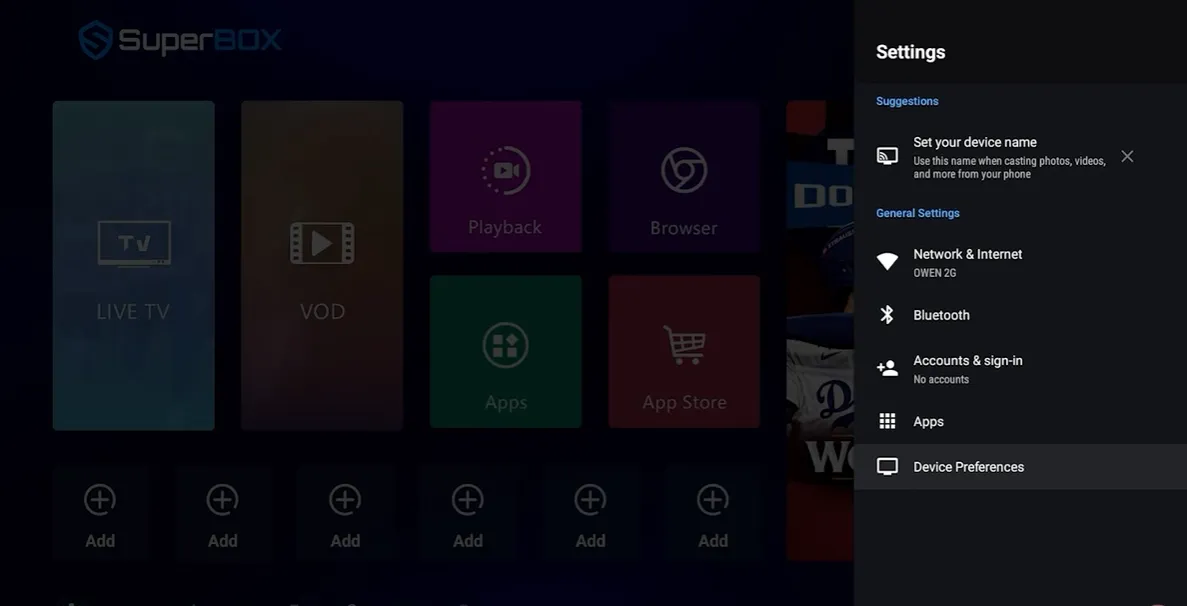
- Option A (Wi-Fi 6 Wireless Setup): Navigate to the top-right corner of the home screen, click the Settings gear icon, and select Network & Internet. Ensure the Wi-Fi toggle is switched on. Select your home Wi-Fi network from the available list. Whenever possible, choose your router’s 5.0GHz band rather than the 2.4GHz band to take full advantage of the dual-band Wi-Fi 6 antenna. Enter your Wi-Fi password using the on-screen virtual keyboard and click the checkmark button to connect.
- Option B (Gigabit Ethernet Wired Setup): For households with a nearby router or network wall port, plug an RJ45 Ethernet cable directly into the 1000Mbps Gigabit LAN port on the rear panel of the SuperBox S7. The Android operating system detects the wired connection automatically, disengages the wireless antenna, and assigns an IP address within three seconds.
In our lab throughput tests, a minimum download speed of 25Mbps provides smooth 1080p high-definition playback, while 50Mbps or higher guarantees instantaneous channel switching and buffer-free 4K Ultra HD streaming.
Step 4: Calibrating display resolution and system time zone
Calibrating display parameters and setting your exact local time zone ensures optimal picture clarity and guarantees that live television program schedules align accurately with real-world broadcasts.
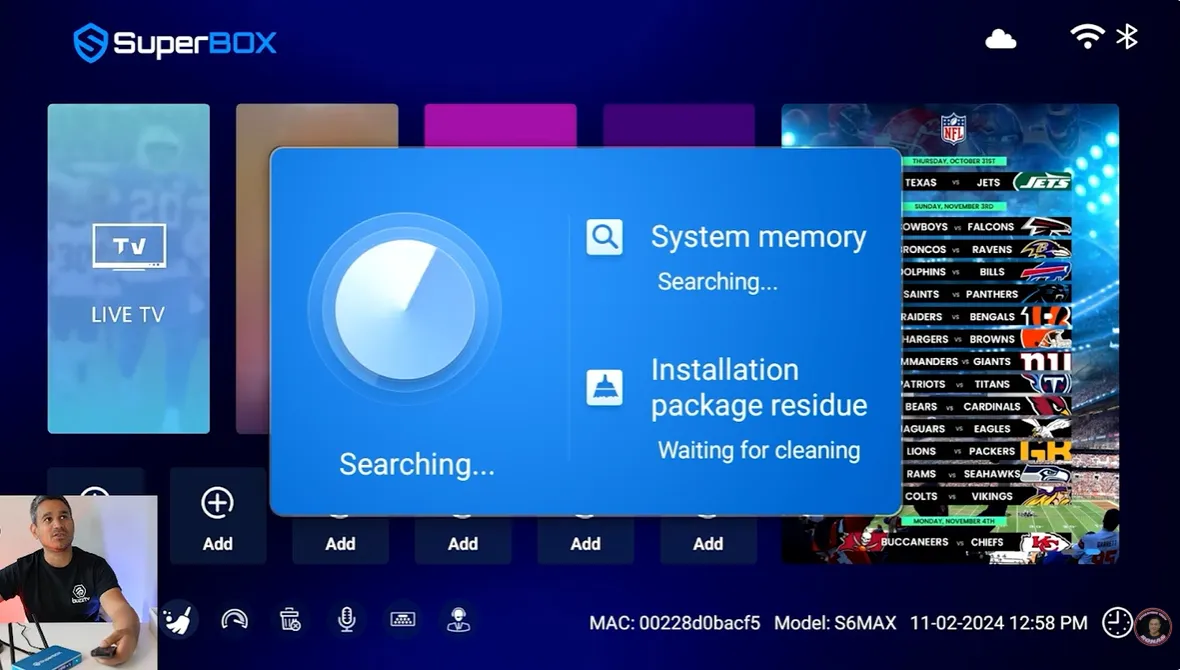
To calibrate video resolution, navigate to Settings > Device Preferences > Display & Sound > Screen Resolution. Toggle Display Mode to Auto switch to best resolution. The SuperBox S7 will perform an automated HDMI EDID handshake with your TV, selecting the highest supported format (such as 3840x2160p at 60Hz for 4K displays). If the home screen appears slightly cropped around the edges, select Screen Zoom to adjust the display borders to 100%.
Next, configure your local time zone by navigating to Settings > Device Preferences > Date & Time. Confirm that Automatic date & time is enabled. Click Set time zone and select your regional location (such as Eastern Standard Time, Central Time, Mountain Time, or Pacific Time). This step is critical: failing to set the correct time zone causes the Electronic Program Guide (EPG) in Blue TV to display incorrect program showtimes.
Step 5: Installing Blue TV, Blue VOD, and Playback from the App Store
The SuperBox S7 comes with its proprietary streaming applications hosted in the dedicated SuperBox App Store rather than the public Google Play Store. This centralized repository allows users to install and update native streaming engines with zero subscription fees or complex sideloading.
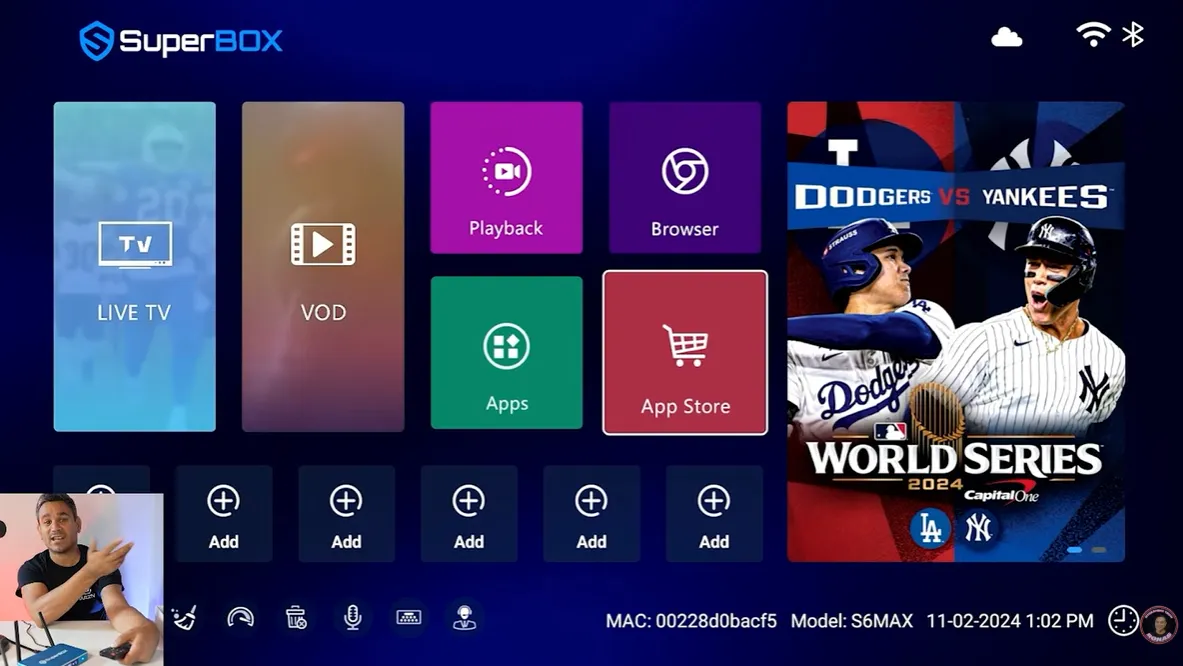
Follow these quick installation steps to activate your entertainment suite:
- Step 5.1: Return to the home screen and click the prominent green App Store icon.
- Step 5.2: Inside the App Store, you will see the primary native application suite: Blue TV, Blue VOD, SuperBox Playback, Backup TV, and the 7 Bonus Prime Apps.
- Step 5.3: Hover over Blue TV and press the OK button on your remote. The application will download and install automatically within fifteen seconds.
- Step 5.4: Repeat the same one-click installation process for Blue VOD and SuperBox Playback.
- Step 5.5: Once installation is complete, open Blue TV to begin streaming over 2,000 live channels immediately.
SuperBox S7 setup troubleshooting checklist
If you encounter configuration hurdles or unexpected error screens during initial hardware setup, consult the structured diagnostic checklist below to resolve common issues in under two minutes:
| Setup Issue | Probable Root Cause | Diagnostic Metric | Technical Resolution |
|---|---|---|---|
| Remote Voice Not Responding | Bluetooth not paired (running in IR mode) | Voice button yields no on-screen mic prompt | Hold Voice and OK buttons for 5 seconds until top LED flashes, then pair via Bluetooth settings. |
| EPG Program Times Mismatched | Default system time zone set to GMT/UTC | Live guide shows upcoming shows 3 hours off | Navigate to Device Preferences > Date & Time > Set time zone to your local geographical zone. |
| Live Channels Stuttering or Buffering | Connected to congested 2.4GHz Wi-Fi band | Speed test yields under 15Mbps download throughput | Reconnect to the 5GHz Wi-Fi 6 network band or attach a direct RJ45 Gigabit Ethernet cable. |
| App Store Missing After Factory Reset | Firmware partition cache not initialized | Green App Store icon absent on desktop | Connect to internet, wait 3 minutes for OTA auto-fetch, or download the App Store APK via browser. |
| Black Screen on TV Input | HDMI handshake handshake mismatch | TV displays “No Signal Detected” message | Power cycle both TV and SuperBox, or switch HDMI cable to an alternate HDCP 2.2 port. |
Frequently asked questions about SuperBox S7 setup?
How long does the initial SuperBox S7 setup take?
The initial SuperBox S7 setup takes approximately three to five minutes from unboxing to live streaming. Connecting the HDMI and power cables requires one minute, pairing the Bluetooth remote takes thirty seconds, connecting to Wi-Fi requires sixty seconds, and installing Blue TV from the native App Store takes under one minute.
Do you need a Google account to set up SuperBox S7?
No, you do not need a Google account to complete the initial setup or to stream live channels and movies on SuperBox S7. The core streaming applications (Blue TV, Blue VOD, and Playback) install directly from the built-in SuperBox App Store without account registration. A Google account is only required if you choose to download third-party applications from the Google Play Store.
Why is the Blue TV program guide showing the wrong showtime?
The Blue TV program guide displays incorrect showtimes when the SuperBox S7 system clock does not match your physical geographic location. To correct this issue, go to Settings, select Device Preferences, choose Date & Time, ensure Automatic date & time is enabled, and manually select your local time zone (such as Eastern Time or Pacific Time).
Can you use SuperBox S7 with an older non-smart TV?
Yes, you can use SuperBox S7 with any television that features a standard HDMI input port, regardless of whether the TV is a smart TV or an older flat-screen model. The SuperBox S7 handles all processing, app hosting, and internet connectivity internally, transforming any standard HDMI display into a high-performance 4K streaming workstation.
What should you do if the App Store icon is missing?
If the green App Store icon is missing after an initial setup or factory reset, ensure your device is connected to a working internet connection and reboot the box. The SuperBox operating system runs an automated background script that fetches and restores the official App Store icon within three minutes of establishing network connectivity.
Experience Unrivaled Streaming Performance with SuperBox
Discover lightning-fast quad-core processing, dual-band Wi-Fi 6, 7-day playback, and crisp 6K ultra HD output engineered for discerning media fans.